- Midland Road Springs | Leaf Springs Specialists
- 01675 467387
- info@leafsprings.co.uk


How to clean leaf springs
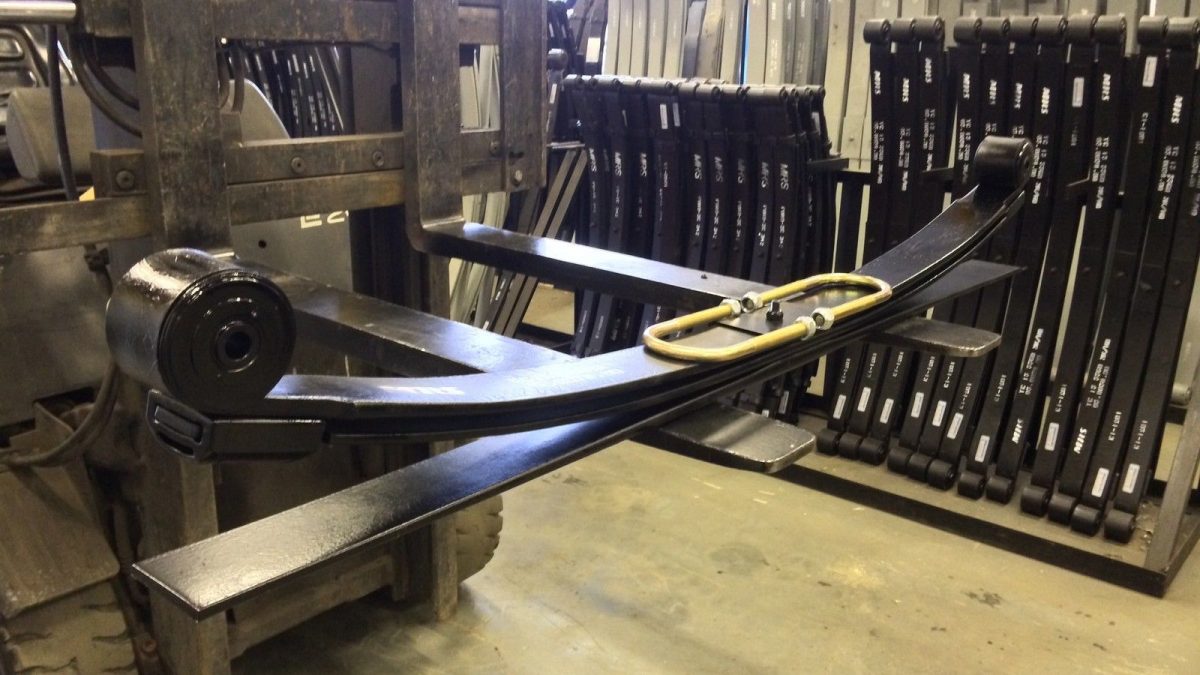
Leaf springs are a crucial part of your vehicle’s suspension system, allowing it to absorb any flexes or bumps on any surface, from asphalt to gravel and mud. Knowing how to clean your leaf springs can significantly increase the lifespan of our leaf spring’s. Midland Road Spring has you covered with our guide to cleaning your leaf springs.
What will you need to clean your leaf springs?
Having the right equipment when cleaning your springs is essential to reduce the risk of the springs breaking or succumbing to wear and tear. When it comes to the leaf spring-cleaning process, you’ll need the following items:
- Wire brush
- Protective eyewear
- A ladder or stepladder
- Bucket of soapy water
- Jack stands
- Cloth or sponge
- Brake cleaner
- Degreaser
Step 1: Remove the dirt on your springs
One of the first things you should do before cleaning your leaf springs is to ensure the vehicle is on level ground. Use the jack to raise the van, giving you access to the bottom of your van. Once you’ve found the vehicle’s springs, you can clean the leaves, shackles, and bushes. Work the brush along each side of the leaf spring, thoroughly cleaning the top and bottom surfaces.
Step 2: Wash your springs
After you’ve removed the dirt on your leaf springs, you can start to wash them by using the following:
- A bucket of soap and water
- A gallon of water mixed with vinegar
During the spring washing process, inspect the mountings and springs themselves. If one of your springs is flatter than the other, it could cause the vehicle to tilt on one side or have an uneven height on flat ground.
Step 3: Degrease the springs
If your springs are caked in dirt, debris, and mud, it can be tricky to clean them. Therefore, you’ll need a degreaser to remove the extra dirt on your leaf springs. Spray the degreaser directly or indirectly onto a wire brush and thoroughly clean the shackles, bushes, and leaves. After you’ve cleaned the springs, wipe off the degreaser with a cloth.
Replace your leaf springs with Midland Road Springs
Looking to upgrade your suspension? Midland Road Springs has supplied, replaced, and fitted leaf springs since 1986. We have nearly 40 years of experience replacing or upgrading leaf springs for various vehicles. You can explore our leaf spring collection online alongside our range of light commercial and heavy-duty leaf springs. For more information about our leaf springs, contact our expert team today.


